
Disclosure: Some shopping links on Minute With Mary may earn a commission. Products mentioned are examples to evaluate, not proof of personal testing or a substitute for reading current manufacturer directions.
To prep natural nails for press-ons, start with clean, completely dry nails, choose the correct sizes, and follow the adhesive kit’s preparation directions. You may need to remove old product or surface oil, but aggressive filing, cutting live cuticles and trying to glue over damaged nails can cause problems. The exact steps depend on whether you’re using nail glue, adhesive tabs or a pre-glued set.
Let’s give the preparation its own moment, because there’s nothing more annoying than spending time on a manicure only to have one nail pop off when you’re reaching for your car keys. A few minutes of careful setup can help you avoid common mistakes.
What supplies do you need?
- A clean work surface and good light
- Clean, dry hands and nails
- The complete press-on nail set, including the manufacturer’s fit chart
- The adhesive or tabs approved for that set
- Any prep materials specifically listed in the kit instructions
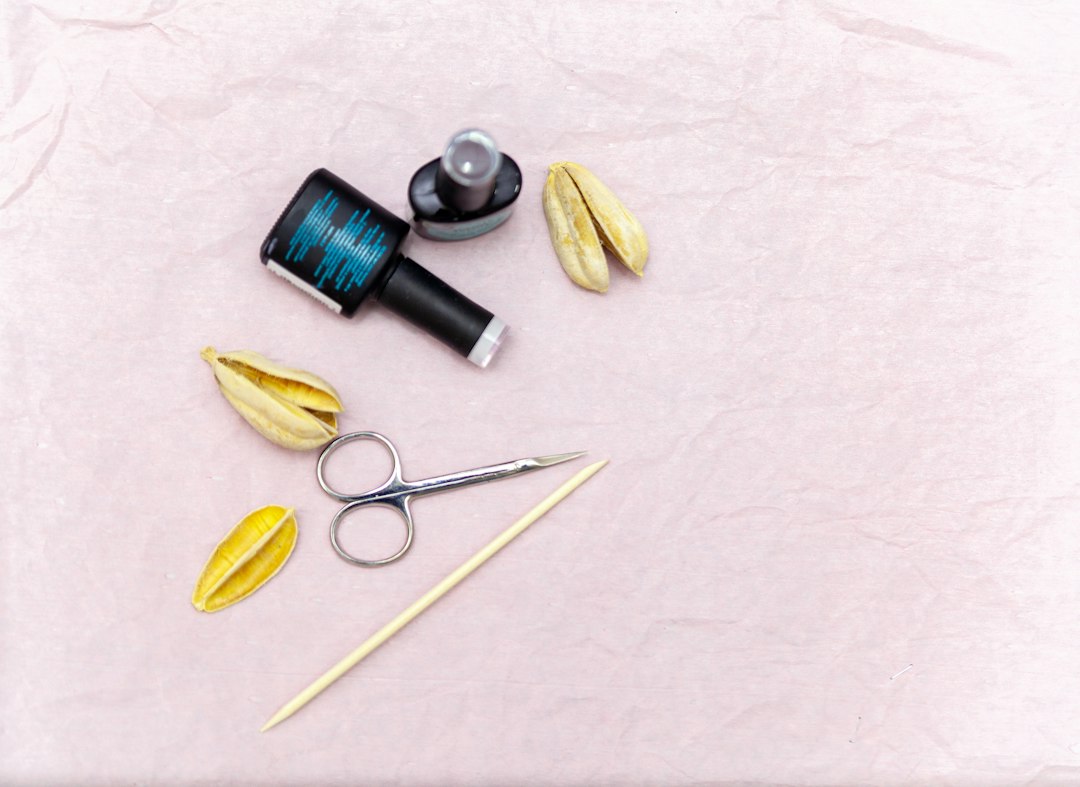
- A suitable tool for gentle nail care, when needed
Skip improvised chemicals and household glues. Nail products have ingredient and usage instructions for a reason.
Step-by-step nail prep before applying press-ons
- Check your nail health. Hold off if you have pain, redness, broken skin, possible infection, or a nail lifting from the bed. Seek professional advice for concerning changes.
- Remove old nail product as directed. Use appropriate methods for the existing polish or adhesive. Don’t rip off old artificial nails.
- Wash your hands. Remove visible dirt, then dry carefully, including around the nail folds.
- Gently tidy the free edge. A smooth shape can help avoid catching, but there is no need to aggressively thin the natural nail.
- Dry-fit all ten press-ons. Match width and curve, and arrange the sizes in order. This is especially helpful if one thumbnail needs a wider fit.
- Follow the adhesive-specific preparation instructions. Some products call for particular oil-removal steps or light surface preparation. Don’t apply steps from a different brand automatically.
- Apply the press-ons according to the kit. Use only the suggested amount of adhesive, pressure and holding time; keep adhesive away from surrounding skin.
- Respect setting and water instructions. Let the bond establish under the conditions specified by the manufacturer.
Should you buff your natural nails first?
Only if the specific product instructions call for gentle surface preparation, and avoid aggressive abrasion. Over-filing can weaken the nail plate. You do not need to grind down healthy nails to make an at-home manicure stick. The American Academy of Dermatology warns about artificial-nail damage and skin irritation around nails.
Should you use alcohol or a dehydrator?
Some kits include a prep pad or specify a product to remove surface oils. Use only what’s compatible with the kit and follow its directions, including ventilation and skin-contact warnings. Repeating solvent steps unnecessarily can dry or irritate skin and nails. If your manufacturer doesn’t require a dehydrator, don’t assume adding one will improve wear.
Glue versus adhesive tabs: does prep change?
| System | Prep priority | Important caution |
|---|---|---|
| Brush-on or bottled nail glue | Correct fit and precisely following glue directions | Avoid skin contact and forceful removal |
| Adhesive tabs | Dry, correctly sized surfaces as instructed by the tab maker | Tabs have their own wear and removal instructions |
| Pre-glued sets | Use the kit’s dedicated prep process | Don’t assume a second adhesive is compatible |
A fuller press-on nail beginner guide covers selecting a set, and a separate glue-versus-tabs article is scheduled in the same nail cluster.
Five prep mistakes that can shorten the manicure
- Choosing a nail that fits the color scheme better than the actual nail bed.
- Leaving moisture or product residue when the instructions require dry nails.
- Applying too much adhesive or allowing it to spread onto skin.
- Buffing aggressively because you think more friction always means a better bond.
- Skipping the removal directions and prying off the set later.
How should you remove press-ons afterward?
Preparation and removal are two halves of the same manicure. Follow the adhesive manufacturer’s removal method, never pry off a nail that is firmly attached, and stop if you feel pain. If your nails are irritated, take a break from adhesives and seek advice when symptoms persist.
Common nail-prep questions
Do nails need to be short for press-ons?
Follow the size and coverage recommendations for the set. Very different natural nail lengths can affect fit, but don’t cut nails shorter than is comfortable just to force a kit to work.
Can I moisturize right before press-ons?
Follow the adhesive instructions. Many systems require a clean, dry nail surface during application; you can care for surrounding skin without leaving product where the adhesive needs to bond.
How long will my press-ons stay on after prep?
Wear time depends on the product, fit, application and daily activity. The kit’s instructions are more reliable than a universal claim.
What if a nail immediately feels tight?
Stop and use a better-fitting nail. Adhesive should not turn discomfort into something you endure.
The takeaway: A neat, comfortable press-on set starts with thoughtful preparation, not elaborate rituals. Keep the routine simple, read the directions and save the creativity for the colors.
