
Press-on nails, without the guesswork.
Learn how to find a comfortable fit, prep your natural nails, apply a set carefully, and remove it without the drama.
From sizing to glue to the great press-on-versus-gel debate, start with the choices that actually make a difference.
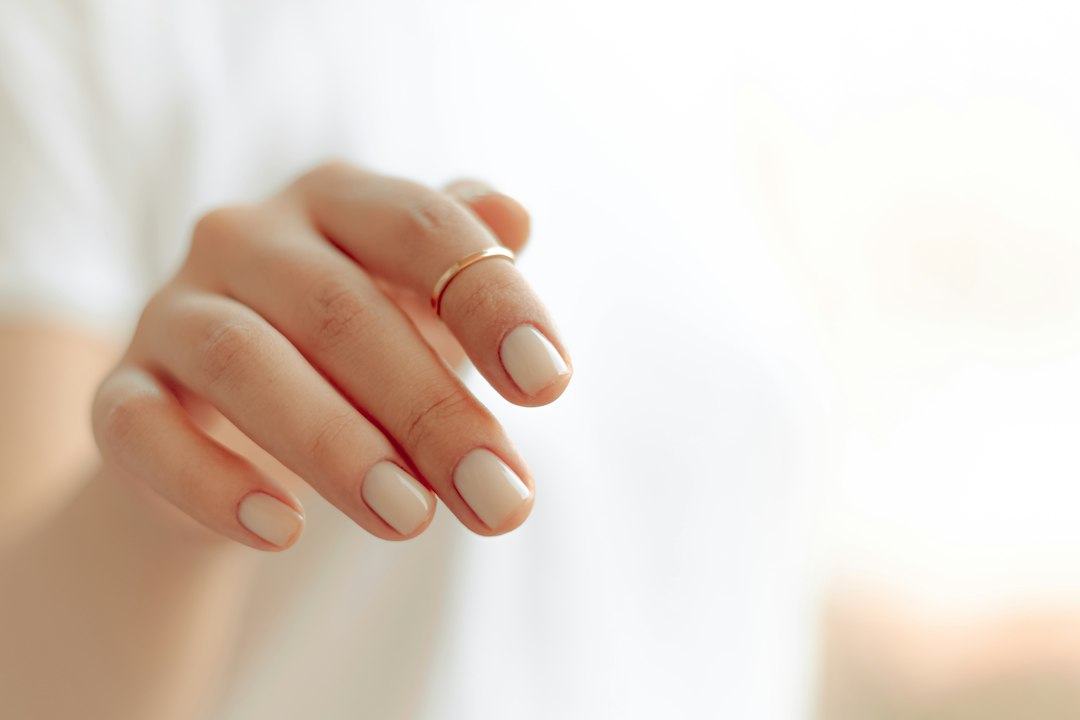 The nail edit · Made for real life
Affiliate disclosure: Minute With Mary may earn a commission from qualifying shopping links. Check current product descriptions and follow manufacturer instructions. Products linked as shopping options have not necessarily been personally tested by Mary.
A beautiful manicure starts with a comfortable fit.
Press-ons can be an approachable at-home option, provided the shape, adhesive and removal method work for your nails.
Make room for the routine that works for you.
New to press-on nails? Choose a set that fits the width and curve of your natural nails, prepare your nails gently, apply the adhesive exactly as its instructions say, and remove the set without force. That basic approach can make at-home manicures more comfortable and help you avoid many of the little disasters that come with rushing the process.
A fresh manicure can turn the most ordinary errand into a moment of tiny glamour. Of course, the nails still have to survive keys, dishes, the car door and all the other things hands do. This is where a little preparation earns its keep.
Find your fit →
Press-on nails for beginners: how to choose the right fit
Start with fit, then consider length, shape, color and the adhesive system. A nail that looks beautiful on the packaging but presses painfully against your nail bed is not the right nail.
| Feature | What to consider |
|---|---|
| Width | Match sidewall to sidewall without forcing the nail onto skin |
| Curve | Compare the false nail’s arch to your natural nail’s shape |
| Length | Choose a practical length for typing, cooking, childcare or work |
| Shape | Rounded and shorter designs may be easier for beginners to manage |
| Adhesive | Check whether the set supports glue, adhesive tabs or both |
How do you size press-on nails correctly?
- Wash and dry your hands and examine each natural nail.
- Without glue, line up several press-on sizes against each nail.
- Choose the size that covers the natural nail without sitting on the skin around it.
- Check both sides and the curve. Some kits include a size chart with measurements; follow it.
- Arrange all ten nails in order before opening adhesive. Future you will be grateful.
If you’re between sizes, follow the manufacturer’s fitting guidance rather than forcing a narrow nail into place. Nail beds vary in width and curve, and one size rarely fits everybody perfectly.
What should you do before applying press-ons?
Make sure your nails are clean, dry, and free of irritation or injury. Follow your particular kit’s preparation steps. Some systems call for lightly buffing the surface or removing oil; aggressive filing can weaken the natural nail, so avoid improvising. Don’t apply nails over suspected infection or a nail that has lifted from the nail bed.
How to apply press-on nails step by step
- Read the adhesive instructions fully before you start.
- Prepare one nail at a time as directed by the kit.
- Apply only the amount of glue or tab coverage recommended. Keep adhesive off surrounding skin.
- Position the press-on carefully and hold for the specified time.
- Check comfort and alignment without repeatedly pulling at the new bond.
- Allow the adhesive to set and follow any water-avoidance or activity restrictions on its label.
Take a little extra care with the first nail. You can learn the angle and pressure before making the same mistake nine more times. A manicure shouldn’t be an endurance sport.
A little more help for your next manicure.
These focused tutorials answer the questions that tend to come up when you’re picking your first set—or trying to get a better result the next time.
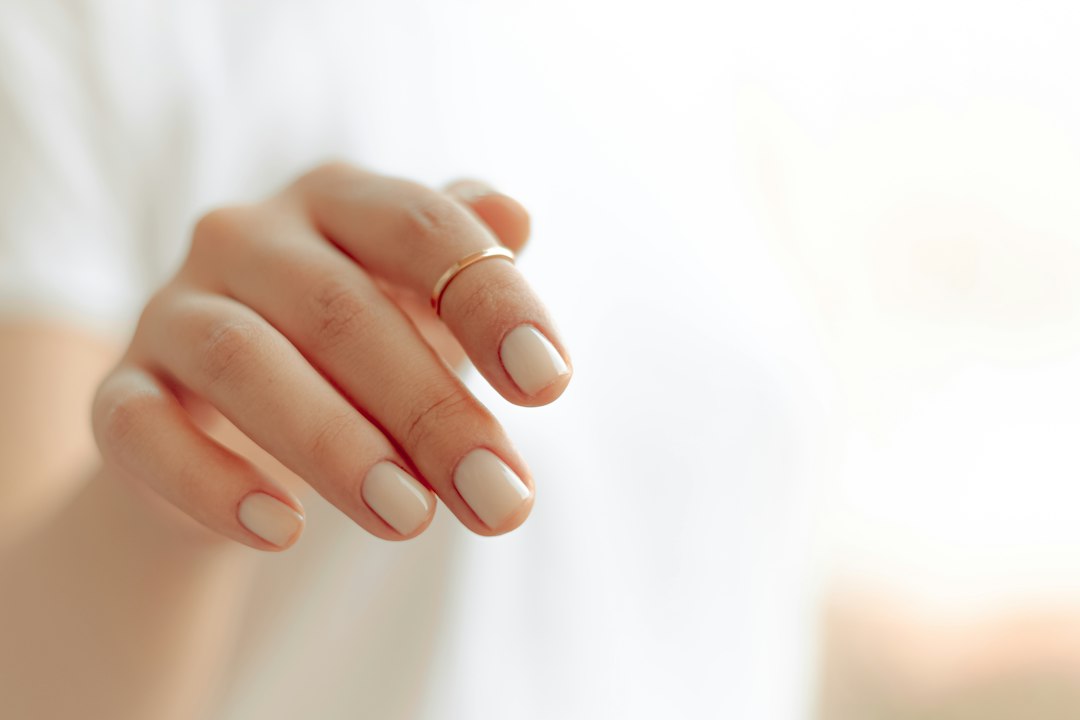 Fit & sizing
Press-Ons for Wide Nail Beds
Get a better fit by comparing nail width and curve before choosing a set.
Read the guide →Application essentialsHow to Prep Your Nails
A simple checklist for cleaning, sizing, adhesives and avoiding common prep mistakes.
Read the guide →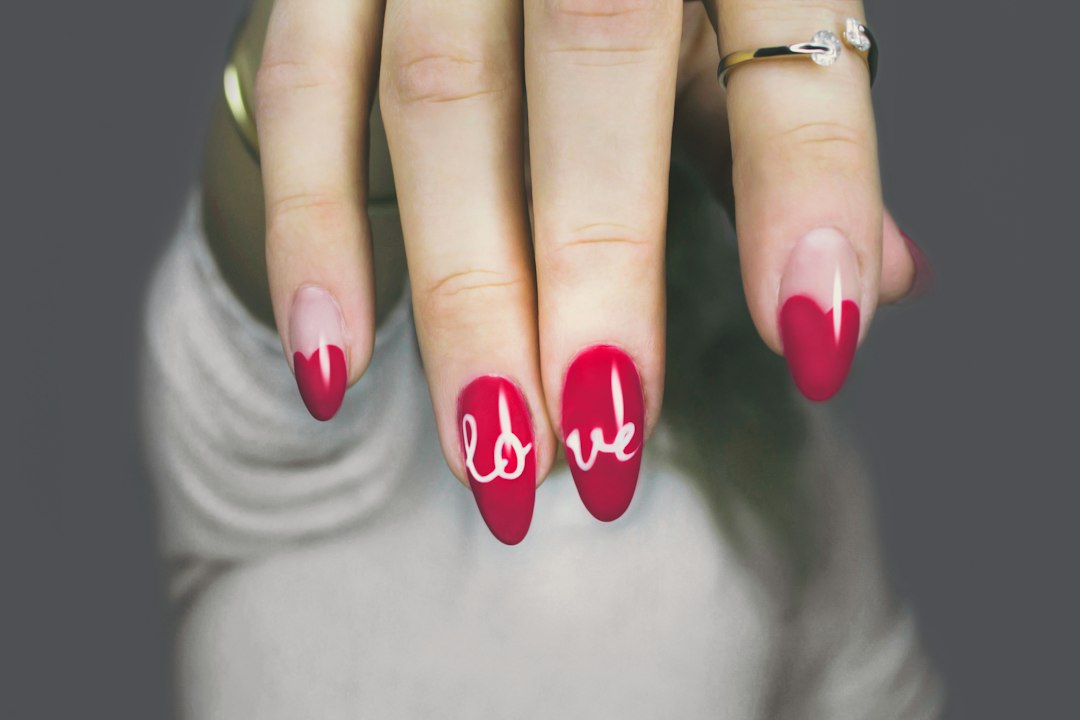 Compare your options
Press-Ons vs. Gel
Compare application, removal, upkeep and what makes sense for your routine.
Read the guide →Brush-on nail glue versus adhesive tabs
Brush-on nail glue and adhesive tabs have different application, wear and removal considerations. Neither guarantees a specific number of days. If you’re weighing the trade-offs, our nail-preparation checklist gives you a place to start.
How to help press-on nails last longer
- Choose the correct fit rather than a set that looks almost right.
- Start with clean, dry nails and follow the adhesive label.
- Don’t use extra glue as a shortcut for poor fit.
- Protect hands during lengthy exposure to cleaning chemicals where practical.
- Use tools rather than fingernails to pry open stubborn objects.
- Don’t keep wearing a nail that has painful lifting or trapped moisture underneath it.
Wear time is highly variable. It’s better to think of the brand’s stated wear instructions as the starting point than to promise a manicure will last a week, two weeks or any specific length of time.
How to remove press-on nails without damaging your natural nails
Follow the adhesive’s precise removal directions. Different glues, tabs and nail materials require different methods. Never rip or pry a firmly attached nail from the nail plate; that can cause peeling, thinning and damage. Stop if removal hurts, and seek professional guidance when a nail will not release safely.
The American Academy of Dermatology’s advice on artificial nails explains why careful removal and breaks between services can matter. Watch for persistent redness, pain or changes in nail appearance.
Press-on nails versus gel manicures
Press-ons provide a preformed nail set, while gel manicures generally involve curing gel polish with equipment intended for the formulation. Application and removal differ, and either route can cause damage if done poorly. A deeper comparison is scheduled for November 19.
Need a better fit?
If nail sets feel narrow or pinch at the sides, see our press-ons for wide nail beds guide. Before applying any set, follow our nail-preparation checklist.
What should you check when buying a kit?
Mary’s Picks includes press-on nail sets and brush-on glue options. Look closely at the material, included adhesive, sizing system, removal directions, availability and any allergy warnings. A lovely shade doesn’t make a kit compatible with every glue.
Press-on nail FAQs
Can you shower with press-on nails?
Follow the specific adhesive’s curing and water instructions. Moisture and wear performance differ by system.
Can press-ons damage your real nails?
They can, especially with aggressive preparation, forceful removal or reactions to adhesive. Correct use reduces some risks but does not remove them completely.
Can you reuse press-on nails?
Some manufacturers design sets for reuse. Whether you can depends on the nail material, its condition and the removal process. Check the kit’s directions.
Are press-ons better than gel for beginners?
They may be more approachable for someone who wants to apply nails at home, but suitability depends on fit, sensitivity, budget and personal preferences.
A little real-life encouragement: Long before this nail guide existed, Mary wrote about how painting her nails pink helped her feel a bit more like herself during a hectic season of motherhood. Her 2014 nail-polish story is a different kind of manicure—and a reminder that these small rituals can matter.
Bottom line: take your time choosing a set that fits, respect the adhesive instructions and give removal the same attention you give application. Pretty nails should still let you live your life.
Find what fits your nails and your life.
Take your measurements, read the instructions and decide what makes sense for your routine before you buy.
Ready to browse? See Mary’s Picks for current shopping options, then compare sizing, adhesives, removal directions and availability before choosing a set.
More to explore: The Minute With Mary library · Skincare Basics · Everyday Makeup