
Self-tanning, made simple.
An even-looking glow starts with the right preparation. Learn the basics, avoid stained hands and keep sunscreen in the routine.
From choosing formulas to fixing common streaks, here’s a beginner-friendly way through the details.
 Self-Tanning · The Minute With Mary library
Affiliate disclosure: Minute With Mary may earn a commission from qualifying shopping links. Check current product descriptions and follow manufacturer instructions. Products linked as shopping options have not necessarily been personally tested by Mary.
A natural-looking glow begins before the color.
From choosing formulas to fixing common streaks, here’s a beginner-friendly way through the details.
Prep first. Then take your time.
For a more even-looking self-tan: read the exact product directions, prepare clean and dry skin, apply in sections using the recommended applicator, go lightly over drier areas, and wash or protect your hands as instructed. Keep colorants away from areas the label excludes, and remember that self-tanner does not replace sunscreen.
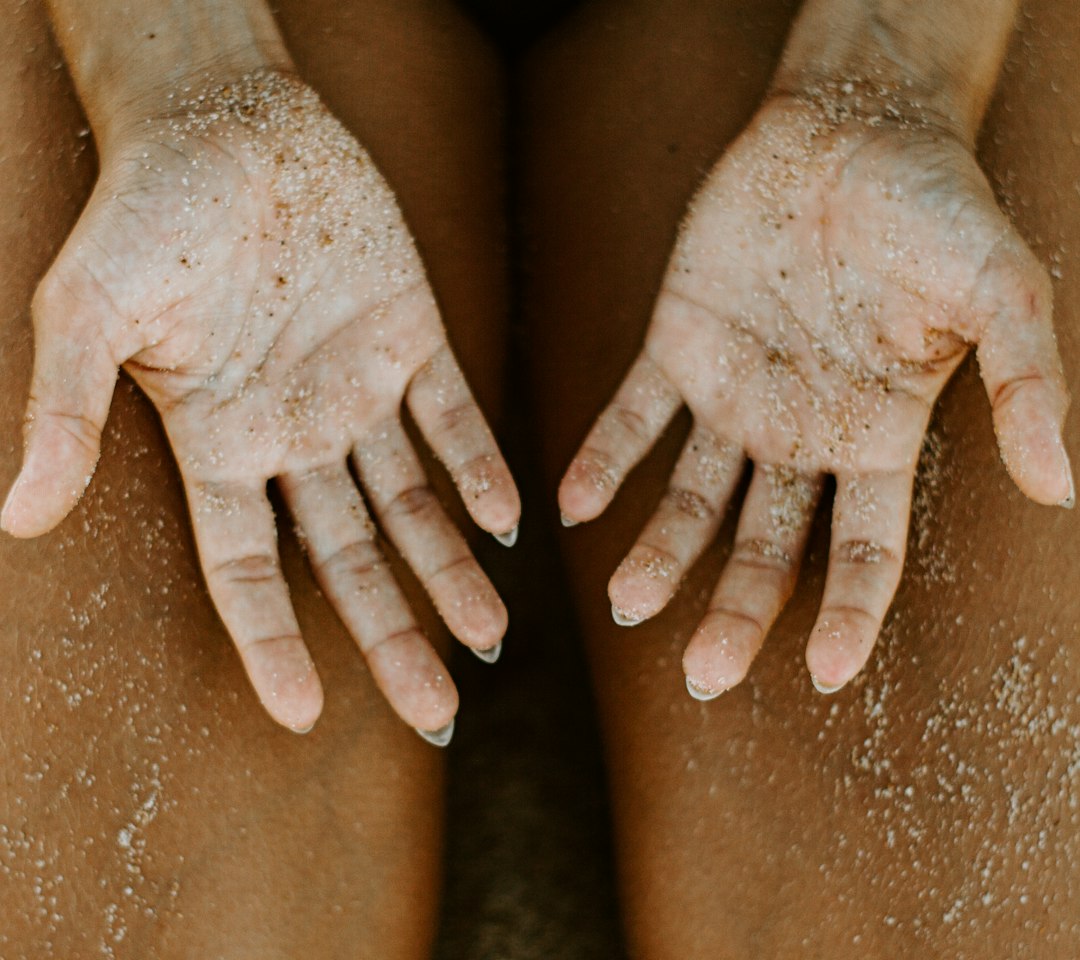
There is a particular kind of optimism involved in applying self-tanner. You picture a smooth, sun-kissed finish. Then you notice your elbow, your ankles and that one thumb that apparently decided to become an entirely different shade. A little preparation is more useful than trying to fix everything afterward.
Explore the basics →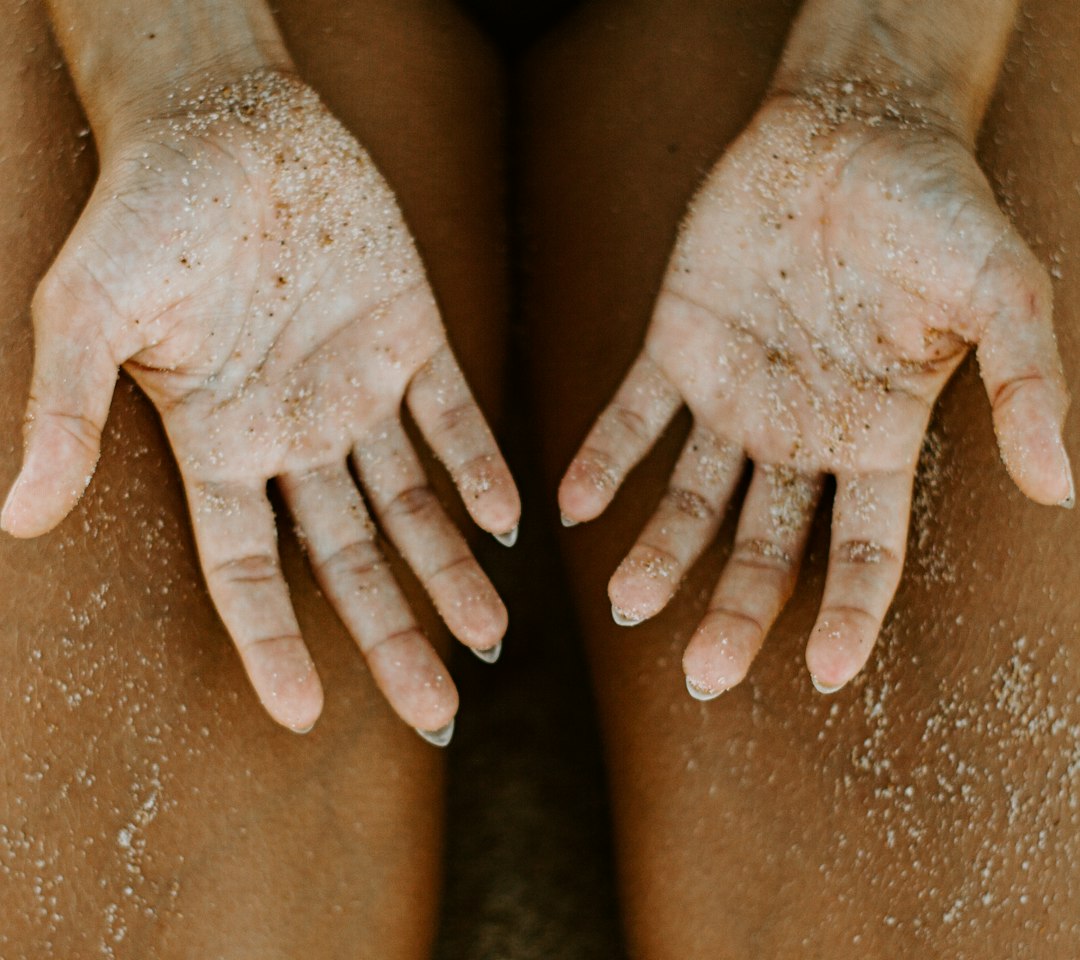
How does self-tanner work?
Many self-tanning lotions, mousses and sprays use dihydroxyacetone (DHA), which interacts with the outer layer of skin to create a temporary color change. The result depends on formula, skin preparation and application. It’s different from the pigment changes caused by UV tanning.
The FDA explains how DHA sunless tanners work and limits around where products can be applied. In particular, don’t get DHA in the eyes or on mucous membranes; take care to avoid inhaling aerosolized products.
Before you tan: the preparation checklist
- Read your product’s label, including application area, timing, rinsing and patch-test directions.
- Start with clean, dry skin; follow the label’s recommendations about exfoliation before applying.
- Pay attention to rough or drier spots like knees, elbows and ankles, which may take color unevenly.
- Prepare a clean applicator mitt if it is compatible with the formula.
- Protect surrounding surfaces and choose clothing suitable for any recommended drying time.
Dermatologists’ self-tanner application guidance is a useful additional reference.
Self-tanner for beginners: step-by-step application
- Follow the manufacturer’s instructions for amount, drying time and skin areas.
- Work methodically in sections, using a thin and even application rather than rushing.
- Blend carefully at elbows, knees and ankles, taking care with particularly dry patches.
- Apply to your hands only in the manner the label recommends; consider an appropriate mitt or handwashing steps if directed.
- Allow the product to dry and develop for the specified period before showering or dressing as instructed.
- Check the result in daylight, and adjust only according to product directions rather than immediately layering more color.
Make your next glow a little easier.
Keep the most useful hands, skin-prep and shopping guidance together.
The troubleshooting guideRemoving Tanner From Hands
Gentle ways to handle uneven hand stains without over-scrubbing.
Read more → Before the glow
Skincare Basics
Build a comfortable foundation with straightforward cleansing and moisturizing advice.
Read more →Current shopping optionsMary’s Picks
Look over current formulas and read their application and removal directions.
Read more →Mousse, lotion or face mist?
| Format | Potential appeal | What to verify |
|---|---|---|
| Mousse | Often applied with a mitt over larger areas | Shade, transfer, rinse and development times |
| Lotion | Familiar cream-like application | Coverage amount and whether skin prep is needed |
| Face mist | Different application experience | Whether facial application is allowed, aerosol precautions and eye/lip restrictions |
Don’t assume a product named “face mist” can safely be sprayed near the eyes or inhaled. Carefully follow its label and the FDA’s DHA safety guidance. If an application method would expose restricted areas, choose another method or product.
How to avoid orange palms and uneven hands
Use the intended applicator and handwashing instructions. If your palms do end up darker than you’d like, gentle care and time are preferable to harsh household scrubs. See how to remove self-tanner from hands for practical troubleshooting.
What if your tan looks streaky?
Dark elbows or knees
These dry areas may grab more color. Next time, follow the brand’s preparation advice and use a lighter, more even application there.
Uneven ankles or wrists
Work in smaller sections and blend deliberately at transitions. Follow the instructions for how soon additional product may be applied.
Color is too dark
Don’t attack your skin with strong acids, abrasive scrubbing or kitchen mixtures. Gentle bathing and normal skin turnover may help the appearance fade over time.
My skin is irritated
Stop using the product and follow appropriate medical advice for a concerning or persistent reaction. Don’t cover irritated skin with another tanning layer.
Do self-tanners protect you from the sun?
No. A faux tan is not reliable protection from UV exposure. Use a broad-spectrum SPF 30 or higher sunscreen, protective clothing and shade as appropriate. The AAD sunscreen application guide explains proper use.
What to check in a Curated self-tanner
Mary’s Curated picks include sunless tanning products and accessories. Before ordering, review the exact shade, ingredient list, permitted application areas, current packaging, drying time and availability. A product’s marketing name isn’t a substitute for its use directions.
Self-tanning FAQs
Can I use body self-tanner on my face?
Only if the manufacturer states that the formula is intended for facial use and the application method avoids restricted areas. Follow the exact label.
How long should I wait before showering?
Follow the product’s development and rinse instructions. Different formulas vary.
Can self-tanner replace sunscreen?
No. Keep using appropriate sun protection.
What should I do if the color is patchy?
Be gentle, follow the product’s correction advice and allow time for the color to fade rather than aggressively scrubbing.
The takeaway: preparation, patience and a sensible application method make self-tanning much easier to manage. The goal is a look you enjoy, with skin health firmly in the driver’s seat.
Choose your glow with care.
Compare the format, ingredients, timing and directions of current products before buying.
Ready to browse? Visit Mary’s Picks to see current options. Check ingredients, instructions and availability before buying; recommendations are not claims of personal testing.
More to explore: The Minute With Mary library · Mascara Made Easy · Pregnancy & Postpartum